
[ad_1]
Greatest practices for securing your Mac in opposition to potential hacks and safety vulnerabilities embrace enabling the firewall, utilizing robust passwords and encryption, and enabling Lockdown Mode.
Picture: Daniel Beckemeier/Adobe Inventory
As the recognition of Macs grows so does the curiosity of hackers who search for vulnerabilities to use. Happily, there are finest practices you possibly can comply with to safe your Mac and defend your self in opposition to hack makes an attempt.
SEE: Right here’s easy methods to safe your Mac’s information through the Full Disk Entry settings.
On this article, we’ll cowl among the methods to guard your self and present you easy methods to make your Mac as safe as potential in opposition to hackers and people who would attempt to acquire your information.
Soar to:
1. Preserve your software program up to date
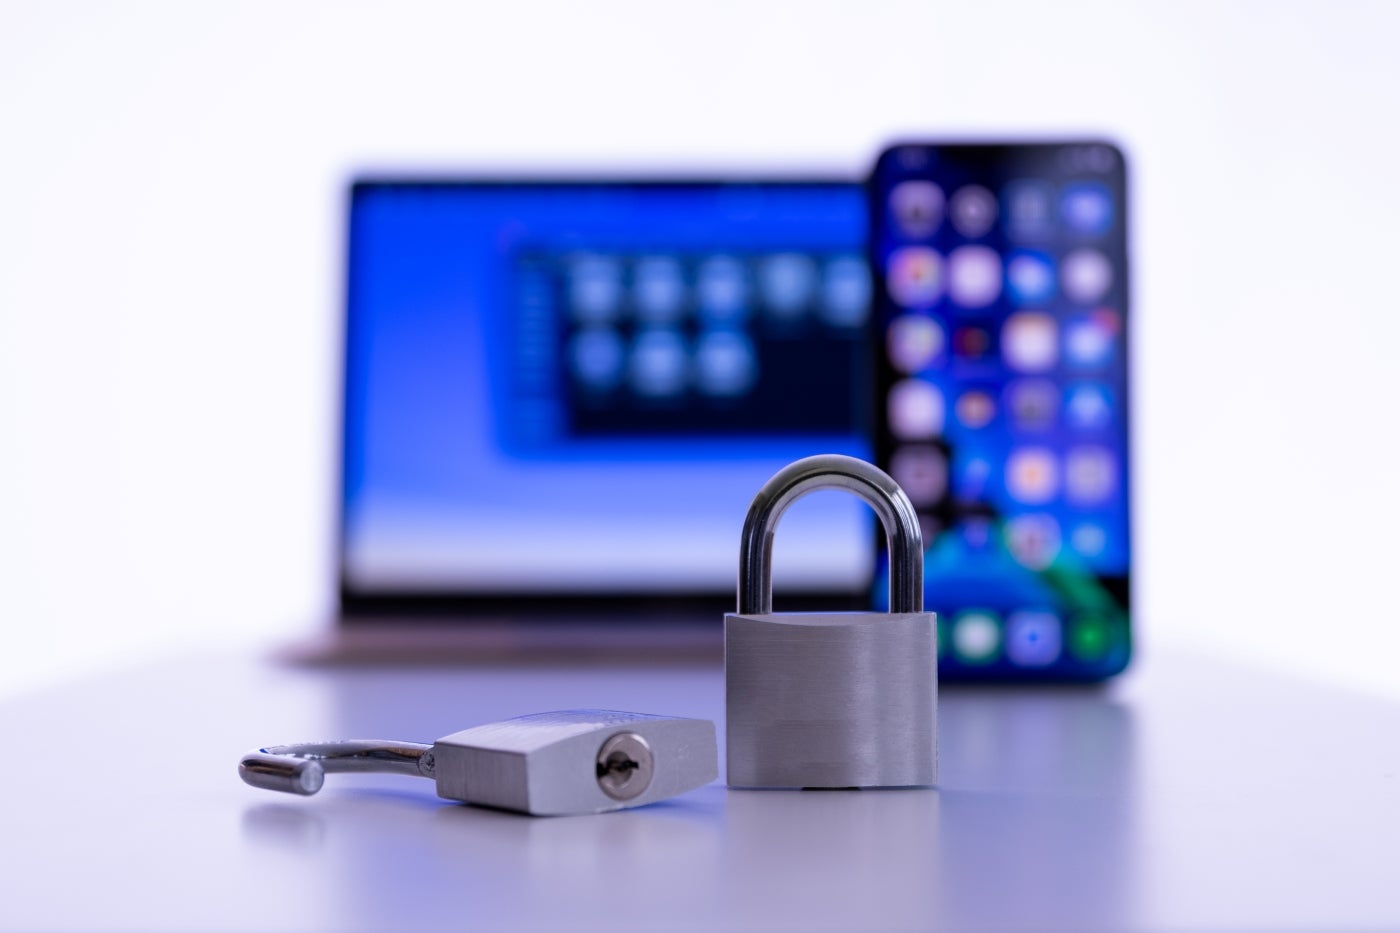
Some of the vital steps you possibly can take to safe your Mac is to maintain your software program up to date (Determine A). Apple releases safety updates repeatedly to patch vulnerabilities hackers can exploit. Retaining your software program up to date ensures you could have the newest safety patches and protections in opposition to rising threats.
Determine A
Retaining your Mac updated is your first line of protection in opposition to hackers.
Updating your Mac is as straightforward as doing the next:
Click on the Apple menu within the high left nook of the display screen.
Choose System Settings.
Choose Basic | Software program Replace, and comply with the prompts to replace any software program.
Software program can also be distributed by means of the Mac App Retailer. To replace software program that has been bought or downloaded from the App Retailer:
Click on the Apple menu within the high left nook of the display screen.
Choose App Retailer.
Choose Updates, then Replace All.
Should-read safety protection
2. Allow the firewall
The Firewall is a built-in safety characteristic of macOS that blocks unauthorized incoming community visitors, and it’s a useful gizmo to allow in case your Mac is repeatedly on Wi-Fi or Ethernet networks you don’t personally management. It helps defend your Mac from hackers making an attempt to entry your pc remotely or on the identical native space community.
To allow the Firewall, go to System Settings | Community | Firewall, and switch it on. It will trigger sure companies and ports to grow to be unavailable when it’s turned on and additional defend from undesirable entry to your Mac whereas touring or on networks you don’t management.
3. Disable automated login
By default, macOS is about as much as routinely log in to your person account if you begin up your pc. This implies anybody with bodily entry to your Mac can entry your recordsdata and settings with no need a password.
To stop this, disable automated login, and arrange your machine to require a password to log in to your account by doing the next:
Click on the Apple menu within the high left nook of the display screen.
Choose System Settings.
Navigate to Customers & Teams.
Disable the choice for Robotically Log In As.
4. Use robust passwords
Utilizing robust, distinctive passwords is essential to securing your Mac and can’t be understated. Keep away from utilizing simply guessable passwords comparable to “123456” or “password.”
As a substitute, use a mixture of letters, numbers, and symbols to create a powerful password. Additionally, keep away from utilizing the identical password for a number of accounts.
SEE: Look into getting a password supervisor.
5. Use two-factor authentication
Two-factor authentication provides an additional layer of safety to your accounts by requiring a code along with your password to log in. This helps forestall unauthorized entry, even when somebody manages to acquire your password. Many companies, together with Apple ID, supply two-factor authentication.
For those who’re utilizing iCloud, then your account ought to have 2FA enabled; if not, you possibly can simply allow it by visiting System Settings | Your Identify | Password & Safety | Two-Issue Authentication.
It’s also possible to allow bodily safety key entry identical to you possibly can on iOS to additional defend your iCloud account from being compromised by requiring a bodily key to be plugged into your Mac with the intention to entry it.
6. Encrypt your information
Encrypting your information ensures that, even when somebody beneficial properties entry to your pc or recordsdata, they received’t be capable of learn them with out a decryption key. macOS consists of built-in encryption instruments comparable to FileVault to encrypt your complete disk.
To allow FileVault and start encrypting your Mac:
Open System Settings.
Choose Privateness & Safety.
Scroll all the way down to FileVault, and click on the choice to Flip On FileVault.
Comply with the prompts to make sure your encryption secret is saved to your iCloud account for straightforward decryption do you have to overlook your Mac’s password.
7. Disable automated file sharing
File sharing is a helpful characteristic for sharing recordsdata between computer systems on the identical community. Nonetheless, it may also be a safety danger if it’s left enabled if you’re related to an unsecured community.
To disable automated file sharing, go to System Settings | Basic | Sharing, and disable the choice for File Sharing. By default this selection needs to be disabled.
8. Contemplate Lockdown Mode
Lockdown Mode is a brand new characteristic in macOS Ventura that enhances the safety of your Mac by limiting entry to delicate information and options. When enabled, Lockdown Mode prevents customers from making adjustments to the safety settings, putting in new software program, or modifying system recordsdata. This may help defend your Mac from potential safety threats and stop unauthorized entry to your information.
SEE: Discover ways to customise the macOS Ventura Management Heart.
To allow Lockdown Mode, you first have to have macOS Ventura put in in your Mac. After you have it put in, comply with these steps to allow Lockdown Mode:
Go to System Preferences | Safety & Privateness.
Click on the lock icon within the lower-left nook of the window, and enter your administrator password.
Choose the Lockdown tab, and click on the Allow Lockdown button.
As soon as Lockdown Mode is enabled, sure options and settings will likely be disabled or restricted, together with:
The power to show off FileVault encryption.
The power to vary firmware passwords or settings.
The power to change system recordsdata or set up new software program with out getting into the administrator password.
To disable Lockdown Mode, return to the Lockdown tab within the Safety & Privateness preferences, and click on the Disable Lockdown button. Nonetheless, it’s vital to notice that disabling Lockdown Mode won’t routinely restore any settings or permissions that have been restricted whereas it was enabled. You might have to manually alter these settings as wanted.
As you possibly can see, securing your Mac requires a mixture of software program updates, built-in safety features, and customary sense practices. By following these finest practices, you possibly can defend your Mac in opposition to hack makes an attempt and different safety vulnerabilities, and hold your private info protected.
[ad_2]