
[ad_1]
Orochium Shrine is a shrine inside The Legend of Zelda: Tears of the Kingdom’s Hebra Mountains area, simply northwest of the Forgotten Temple.
Finishing the “Braveness to Fall” trial is a problem that closely depends on Hyperlink’s Ultrahand and Ascend skills to navigate the laser-filled shrine. There are additionally enemies all through the Orochium Shrine, so have your favourite bow and melee weapon prepared. (Listed below are our picks for the very best weapons and armor in Tears of the Kingdom.) However be ready: Orochium Shrine and the “Braveness to Fall” trial are prolonged — we’ll take you thru every step to make fixing it a breeze.
Our information will allow you to discover the Orochium Shrine location, remedy its puzzles, and stroll you thru the “Braveness to Fall” trial so you possibly can gather its chest and Mild of Blessing.
If you’re completed, our shrine areas web page or interactive Hyrule map can direct you towards one thing else to do.
Orochium Shrine location
Graphic: Jeffrey Parkin | Supply pictures: Nintendo EPD/Nintendo through Polygon
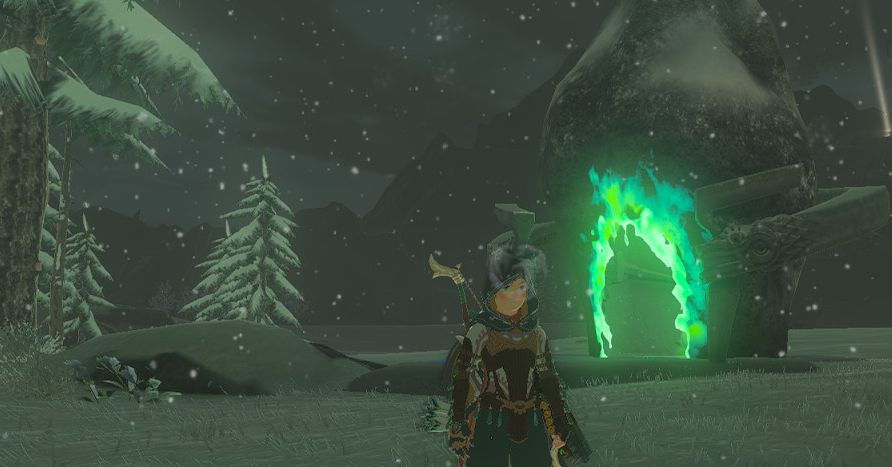
The Orochium Shrine might be discovered within the Hebra Mountains, northwest of the Forgotten Temple (you’ll come throughout this as a part of the Geoglyphs quest). The precise coordinates of the Orochium Shrine are: -1638, 2643, 0239. It’s chilly up right here, so equip your Archaic Heat Greaves or imbibe one thing that that offers you the nice and cozy and fuzzies — or not less than one thing with chilly resistance.
Orochium Shrine walkthrough and chest
It is a pretty prolonged shrine, with a number of enemies and laser traps. The plan, as with the same Tukarok Shrine, is to get a metallic ball from the again of the shrine to the entrance.
1. Begin by opening the doorways in entrance of you with Ultrahand. As you possibly can see, there are lasers, so let’s keep away from all that. Notice the ball pit to the suitable (we’ll clearly be coming again to this) and the hall to the left. There’s a Soldier Assemble II right here — head(eye?)shot it along with your bow, then take it out with a melee assault whereas it’s surprised. It’s going to drop a nifty Soldier Assemble II Horn, which boosts a weapon’s assault by 8 energy, so be sure to seize it.
Picture: Nintendo EPD/Nintendo through Polygon
2. Subsequent, equip Ascend and look to the towers forward of you. Sure, you’re going up. Climb the ladder on the high after which crouch (L3) to crawl into the subsequent room. There’s an enemy under you (one other Soldier Assemble II), so get able to dispatch it. You’ll be able to nab it from up right here with the bow — it took us two photographs with a 25-power strengthened Lizal bow. (Aspect notice, that is beginning to really feel loads like Metallic Gear VR, isn’t it? Perhaps it’s Batman: Hyrulian Knight…)
Picture: Nintendo EPD/Nintendo through Polygon
3. Anyway, glide down, run previous the steps, and take out one other Soldier Assemble II. It’s guarding a chest with 5 arrows in it, so seize these whilst you’re right here.
Picture: Nintendo EPD/Nintendo through Polygon
4. Return to the steps to see one other door that requires you to make use of Ultrahand. Open it and, oh look, extra lasers! Crawl below them to see one other pair of enemies — one to every facet of the inexperienced door in entrance of you — to dispatch with the bow and press on.
Picture: Nintendo EPD/Nintendo through Polygon
5. This inexperienced door hides the ball we have to deliver again to the beginning and requires a key. To get it, flip round and run into the laser entice — it will activate a entice door, dropping you right into a hall of shifting lasers.
Picture: Nintendo EPD/Nintendo through Polygon
6. Run previous them (you’ll fall to your demise in case you hit these ones), and Ascend on the finish of the hall. Say hiya to a treasure chest and the small key it’s holding.
Picture: Nintendo EPD/Nintendo through Polygon
7. Cross the Mission Unimaginable laser hall once more and Ascend by the entice door you fell by. Now it’s time to unlock the inexperienced door.
Picture: Nintendo EPD/Nintendo through Polygon
8. Take the ball and run up the steps behind the locked room, and up the floating platform (both facet is okay).
Picture: Nintendo EPD/Nintendo through Polygon
9. Drop the ball within the pit and marvel on the wing you unlocked. Notice the 2 followers connected to it.
Picture: Nintendo EPD/Nintendo through Polygon
10. Connect the ball to the wing and place it on the observe, then hit it along with your weapon to begin the followers and journey again to the beginning of the shrine.
Picture: Nintendo EPD/Nintendo through Polygon
11. Detach the ball, drop it within the pit, and the job’s an excellent ‘un. Go work together with the sigil to gather your Mild of Blessing and full the Orochium Shrine!
[ad_2]